Planetbase tutorial
When you start Planetbase you probably want to get familiar with the game, especially if your not familiar with resource gathering RTS games.
Default Controls
W,A,S,D: controls the position of the the camera.
Q,E: can rotate the camera giving you different angles on your new colony.
+: Speeds time up to 4x the original
-: Slows time down, back to regular speed
Alt: Shows your current resources
Tab: Toggles interior and exterior view
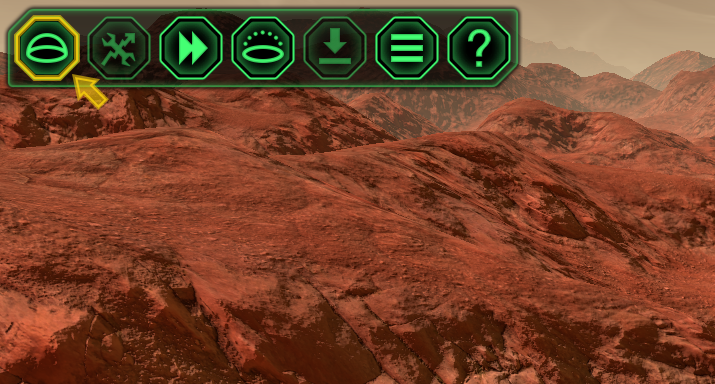
Before we get started you need to know where to go, look to the top left of your screen.
You will see seven octagons. These seven octagons all have different purposes. The first one is your build menu, this is the most important tool you have. This is the only octagon you need to know for now.
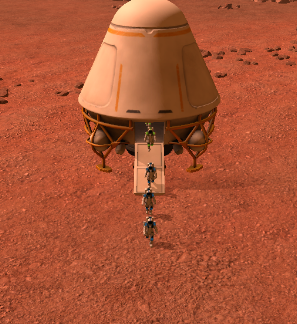
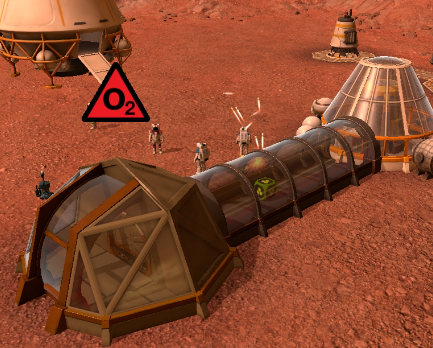
After your colonists land, and you are introduced to your new crew, you are assigned your first goal. As the manager of the colony it is your job to tell the workers to construct, and the first thing you need to make, is a
Oxygen Generator.
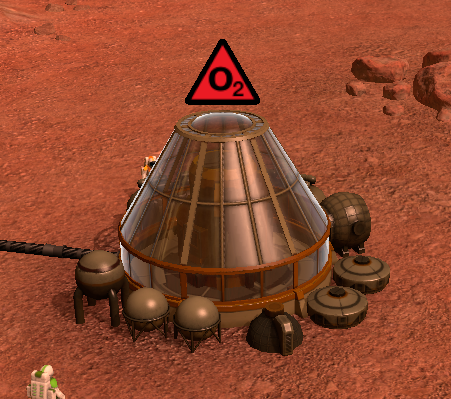
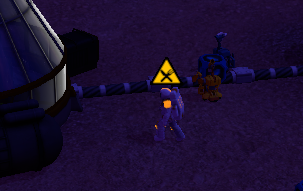
Your
Oxygen generator should now look like this. Note the red warning triangle. This signals that the structure has no oxygen. That's because it needs two more structures for it to be operational, it needs a power source, and a fuel source. So your next plan of action should be to construct a
Solar Panel. I would recommend using "+" to speed up the time it requires for construction. Remember to hit "-" after the construction is finished to set back time to its regular speed.
Now you have hopefully successfully created your first power source.
Solar Panels absorb the sun light and convert it into power, this obviously means when night fall comes, you will not have power. So later we will establish other means of power, and power storage.
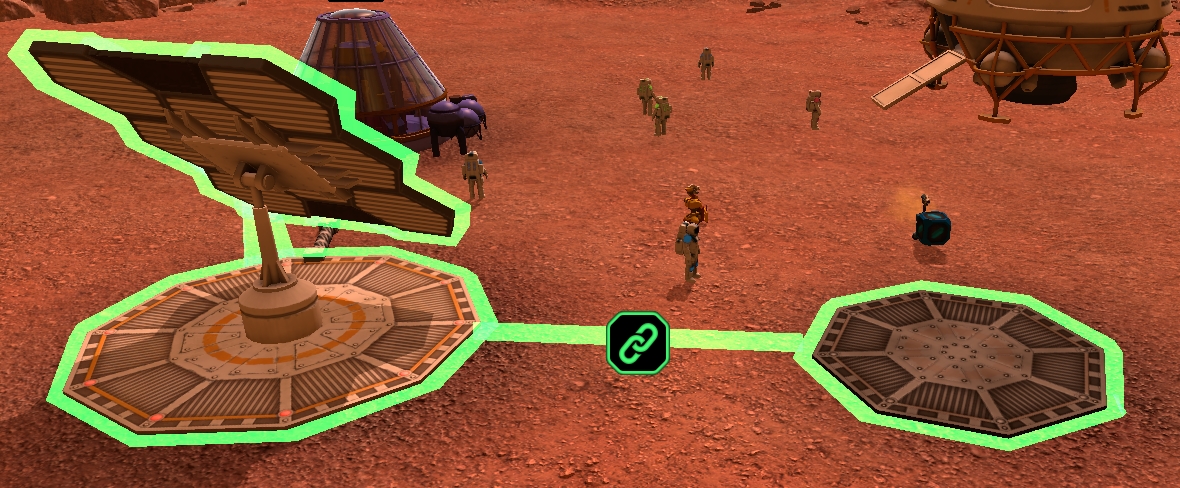
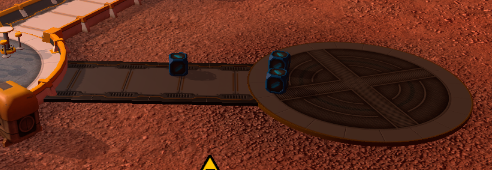
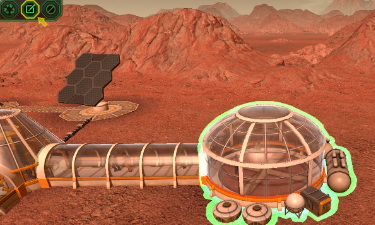
After you have built a second structure, you need to make sure you connect them. Start by clicking one of the two structures you wish to connect. Then click on the second structure. A green line with a link will appear. Click the link and the connection will be made, as shown below. Keep in mind, when you connect structures with interiors it will make a hallway connecting them, not a cable. Cable connections are for external structures like the
Solar Panels, and
Water Extractors.

But we still need a fuel source for our
Oxygen Generator, so lets build that
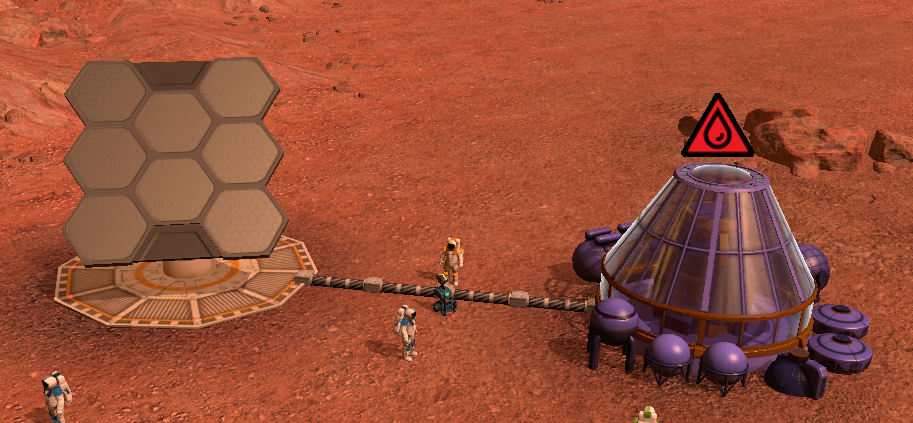
Water Extractor next. Start by navigating back to your build menu and finding the
Water Extractor. Place the structure and link it to the Solar Panel. Now hit "+" and then "-" again to speed time up for the construction process. Now that you have connected the Fuel source and the power source, your
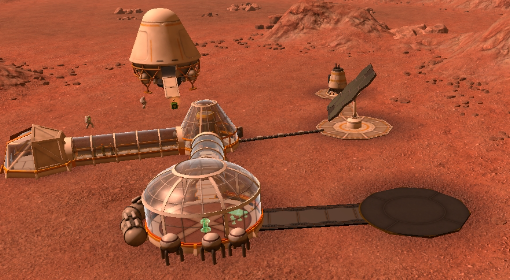
Oxygen Generator building should fill up with oxygen. Don't panic if your red warning triangle hasn't gone away yet, it takes some time for the generator to fill up the room. Your colony should now look like this.
Now that you have oxygen inside, you should probably have an entrance. So now its time to create a
Airlock. Navigate to your build tab, and locate the
Airlock. Once you have placed the
Airlock you must connect it to the Oxygen Generator like the previous structures. Now your colonists will be able to enter the Oxygen Generator and get out of that hot martian sun, also they can get some "fresh" air,
Your colonists now have air, but they still have other needs that they require to keep on living. One of those needs is food. So now we will make a
Canteen for our colonists to hunker down and enjoy a good meal, and well you know, not die. Start by placing the
Canteen within range of a adjacent structure. Then link the structures, and speed up the construction. This should result in the creation of a hallway allowing your colonists to walk from one structure to another.

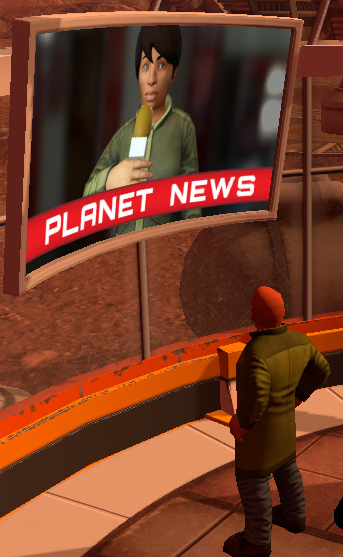
The Canteen starts empty, so it serves no purpose other then some visual aesthetic. But eye candy doesn't feed your colonists. So lets add a
Table,
Water fountain, and a
Tv Screen to the interior of the
Canteen. To edit interiors start by clicking on the desired structure, the menu on the top left of you screen should now change into three options. Clicking the second option will now give us the ability to add interior objects to our structure.
Now that your
Canteen is furnished, your colonists will most likely all rush to the water fountain for water. This is a good thing, don't worry.
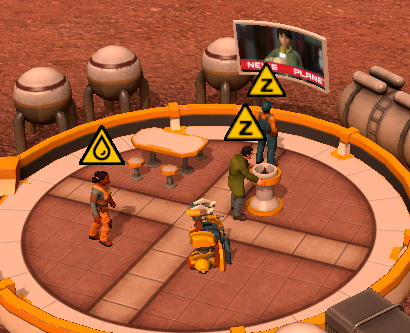
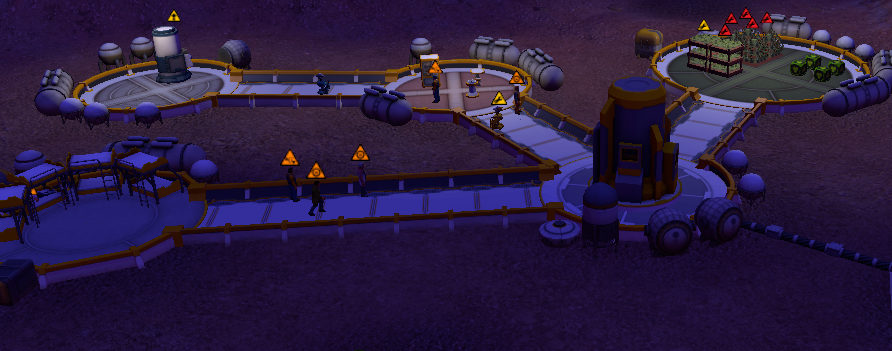
Note the yellow triangles above the colonists showing that they require specific needs. The "Z" means the colonists are tired, currently our colony doesn't have any beds, so we need to make some. We will start by making a
Dorm so we have a place to put the beds, then our colonists can take a rest from all there hard space work.
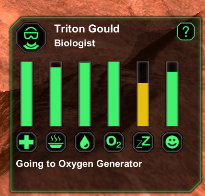
Keep in mind you can click on a colonist at anytime to see there specific needs. And their name, and profession, if that interests you.
The
Dorm structure is considered a dead end structure, which means it can only have one link, you should definitely keep that in mind when you are constructing your base. When the
Dorm structure is built, it will be empty like the
Canteen. So once again click on the structure and navigate to the interior components tab, Now place the desired amount of bunk beds.
Now that you have established somewhere for your colonists to sleep, place a
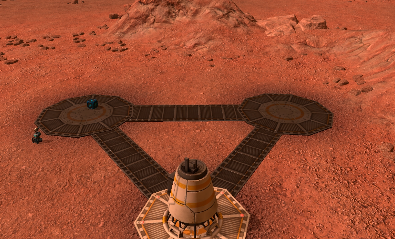
Wind Turbine, and a
Power Collector to make the colony more sufficient. The
Power Collector will allow your colony to store extra power, and the
Wind Turbine will get you a little bit more power on extra windy days.
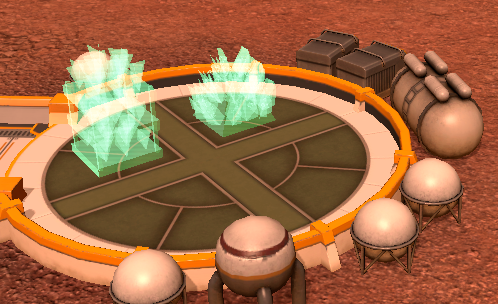
Our Colony still needs a constant source for food, so lets build a
Bio-Dome, and put a
Meal Maker in our
Canteen. This will make our Colony self sufficient to some degree. However we still need to put grow plants in our
Bio-Dome, so lets place Onions, and Tomatoes inside the
Bio-Dome using the interior components tab.
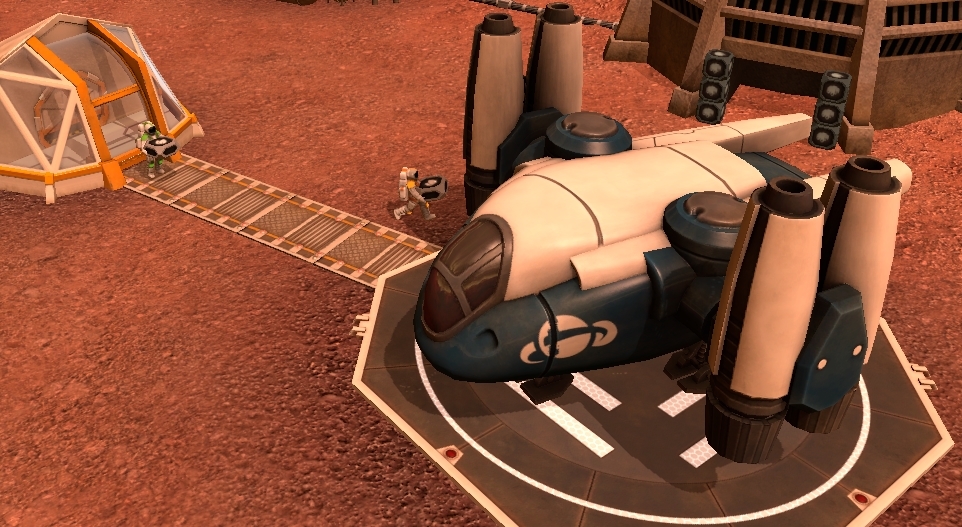
Now your colony is well on its way to being successful, so lets remove our
Lander Pod. To recycle a structure click on it and find the recycle tab, if you don't know what that looks like, shame on you.
Now we need more resources, so lets build a
Mine to gather more ore for our colony. But we can't build structures out of raw ore, so we need a
Processing Plant to turn our ore into metal. Remember when the
Processing Plant is created, it will be empty, so click on it and add interior components, more specifically add a
Metal Processor and a
Bioplastic Processor. Bioplastic is used for creating electrical connections, and interior structures like beds.
The Bio-Dome could also use a faster crop, so add
Rice to the interior of the structure.
In order for our structures to continue to operate they need maintenance. Maintenance will require a
Factory, your
Factory (when furnished) will produce Spares, which are used by your Mechanics to repair structures. To do this you need a
Spares Workshop inside your
Factory.
Another thing you will need is a
Sick Bay which is used to heal your injured colonists. Make sure to once again add the interior structures, without the interior structures your new
Sick Bay will be useless. Healing Colonists requires
Medicine, to create more add the
Medical Plant Crop to the Bio-Dome.
You also need to build a
Lab, this will allow you to make synthetic meat for your colonists to consume, and process the
Medical Plant into
Medicine. Make sure you furnish your
Lab.
Lastly build a landing pad, this will allow new colonists to join your colony, keep in mind they will only join your colony if the think its well-run, so try to minimize work related incidents.
You are now well on your way to making a Space Colony.


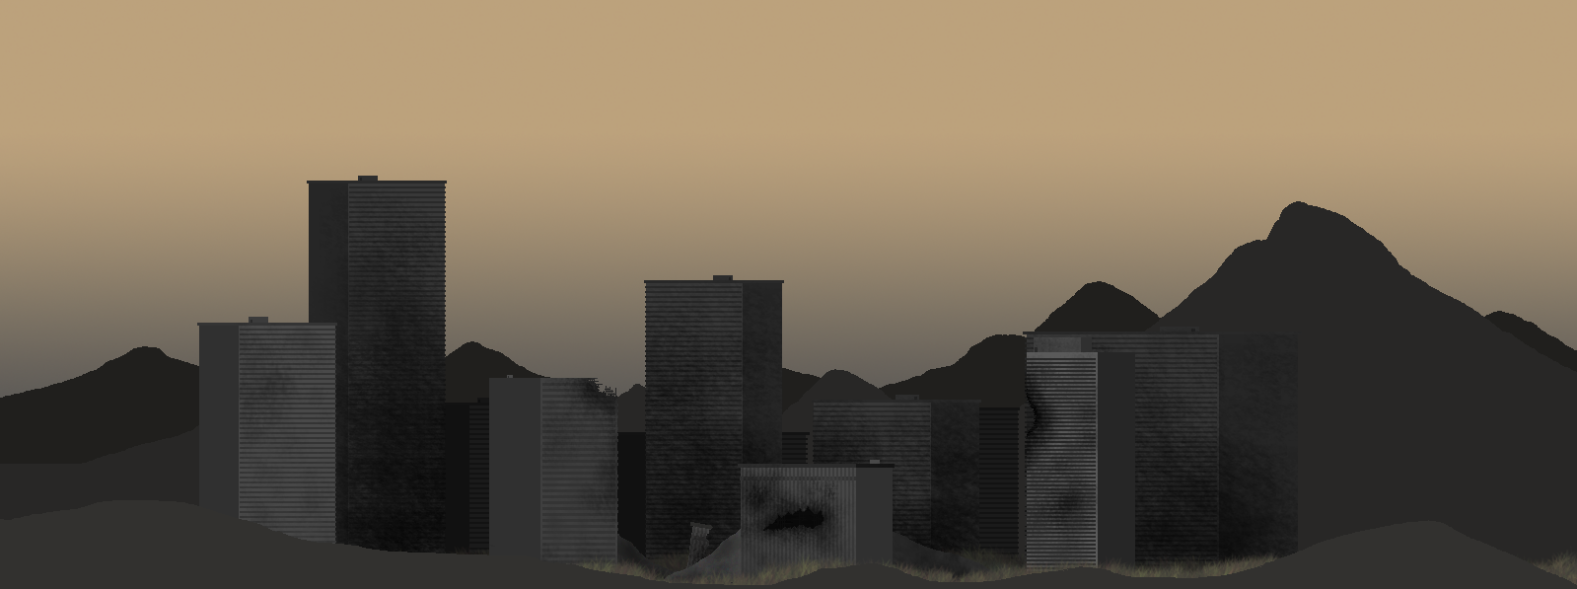
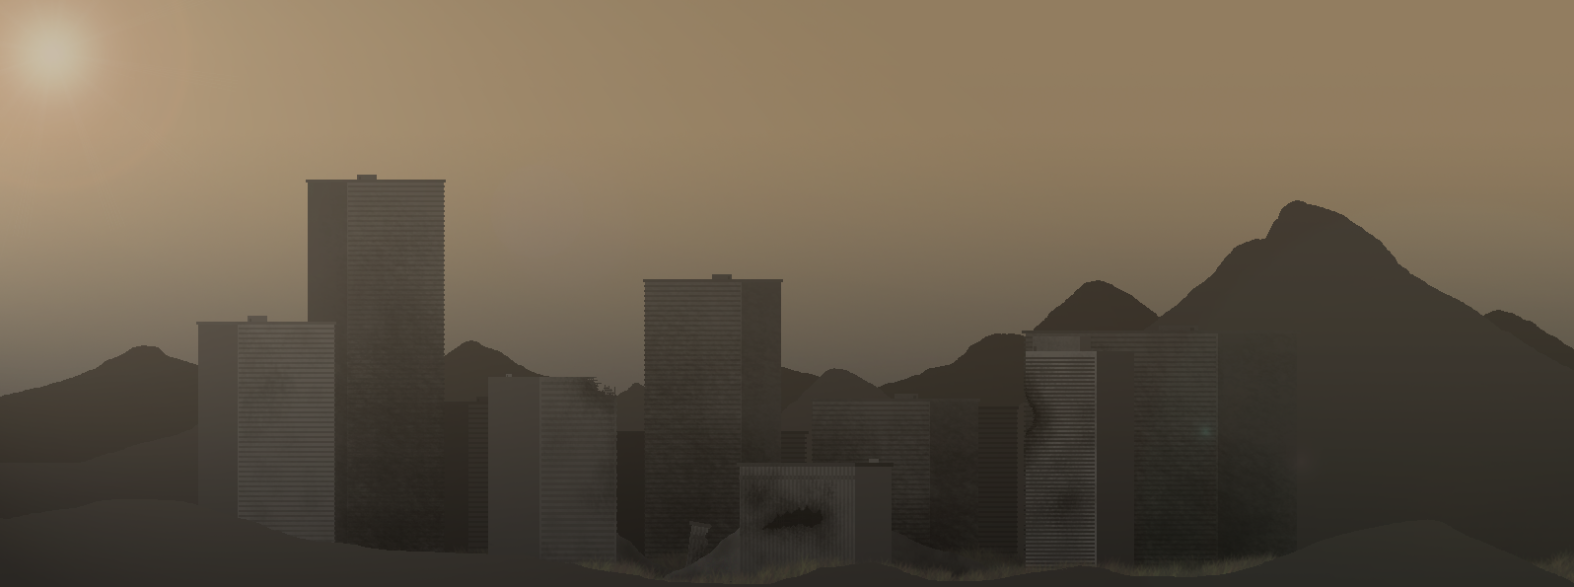
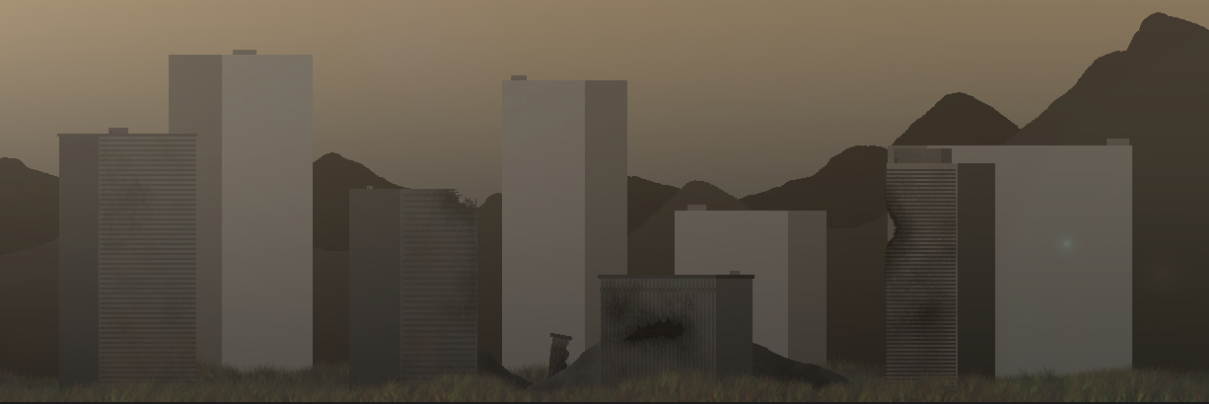
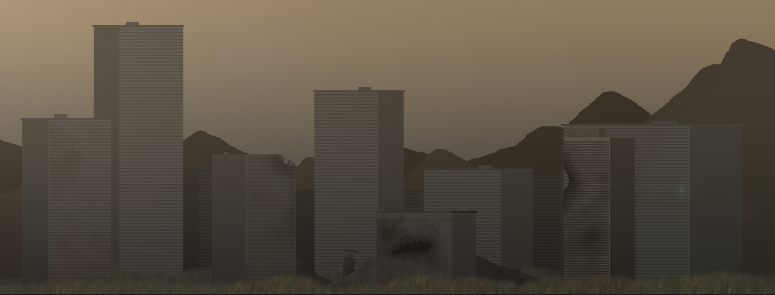
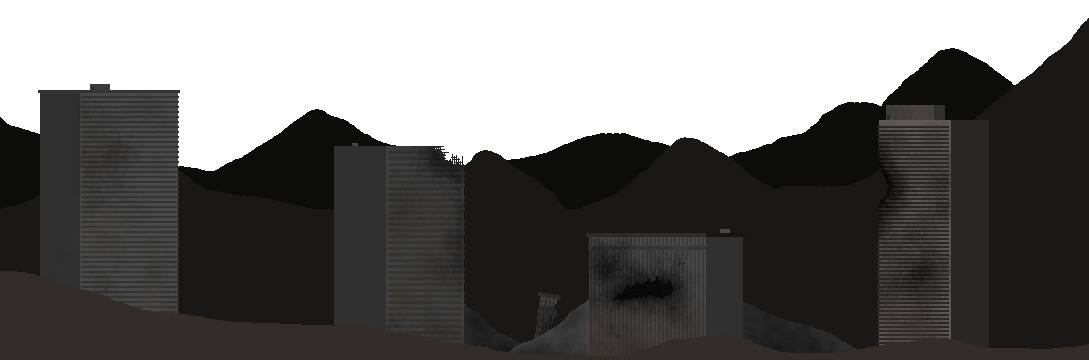

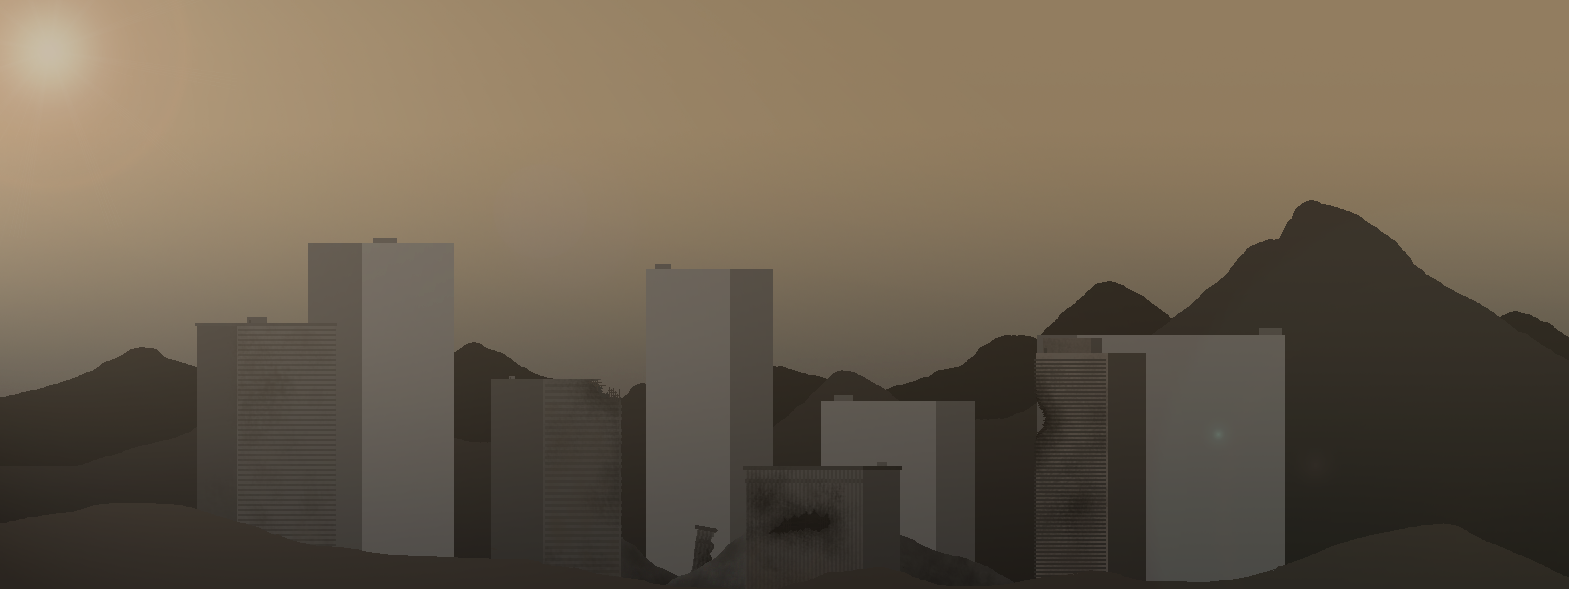


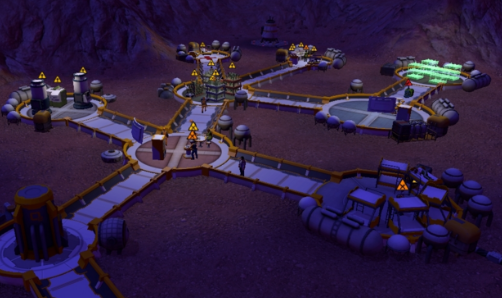
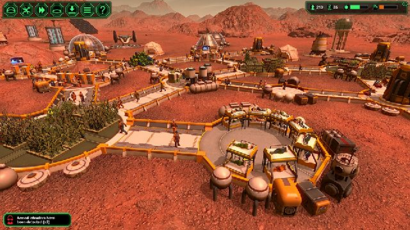
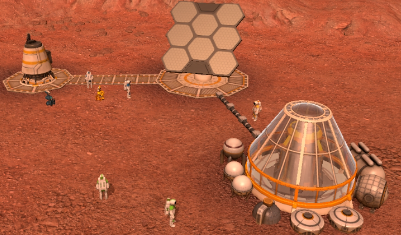
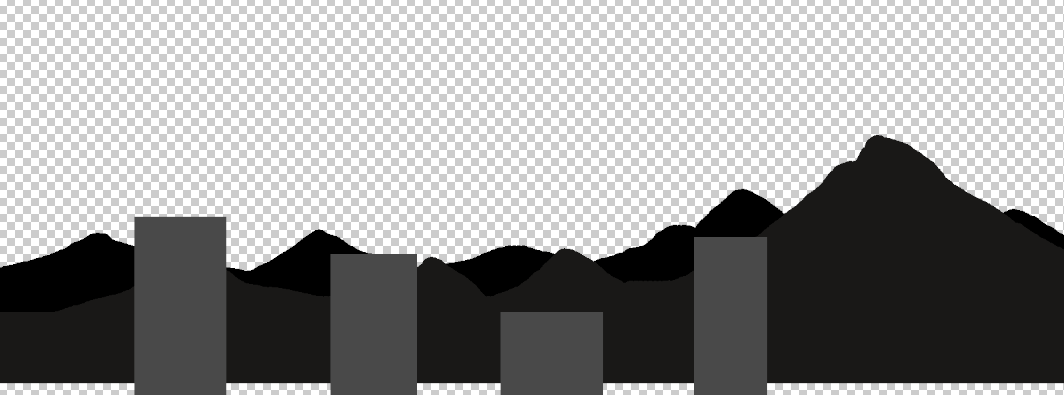 This is the background with the front layer of mountains "hidden" so I can see all the buildings. The plan is to have this background parallax scroll, so the different layers of the background will move at different speeds giving off the illusion that they are far away from the player and each other.
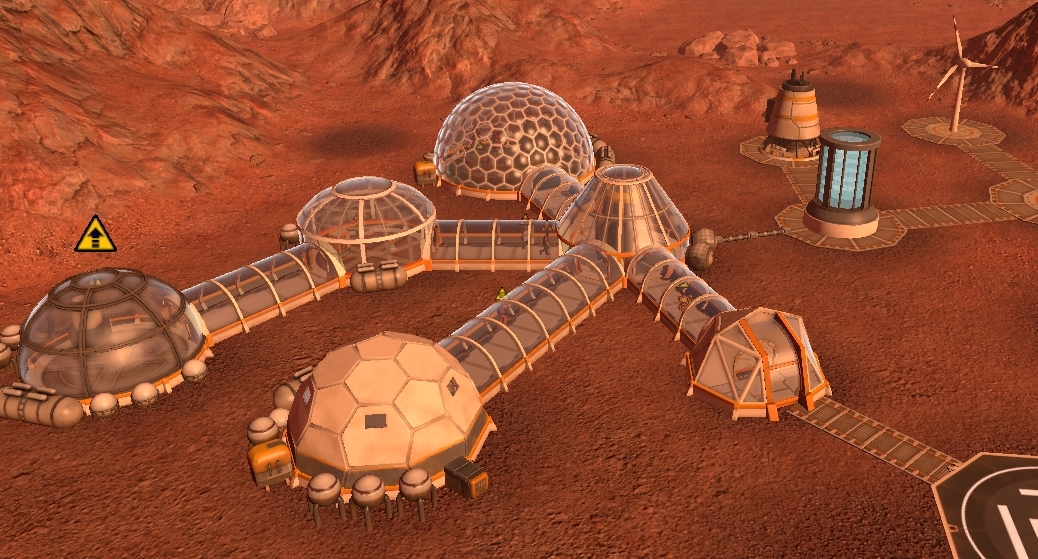
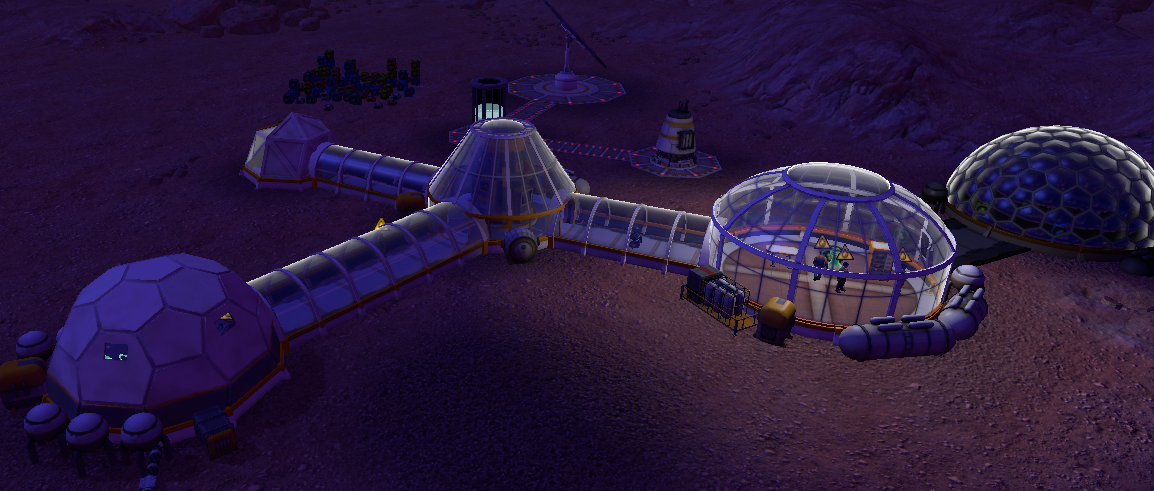
 My Colony has run into a minor food problem, a few of our colonist's are hungry. But we cant build more plants because we need Bioplastic. Nobody has died yet though, so that's pretty good.